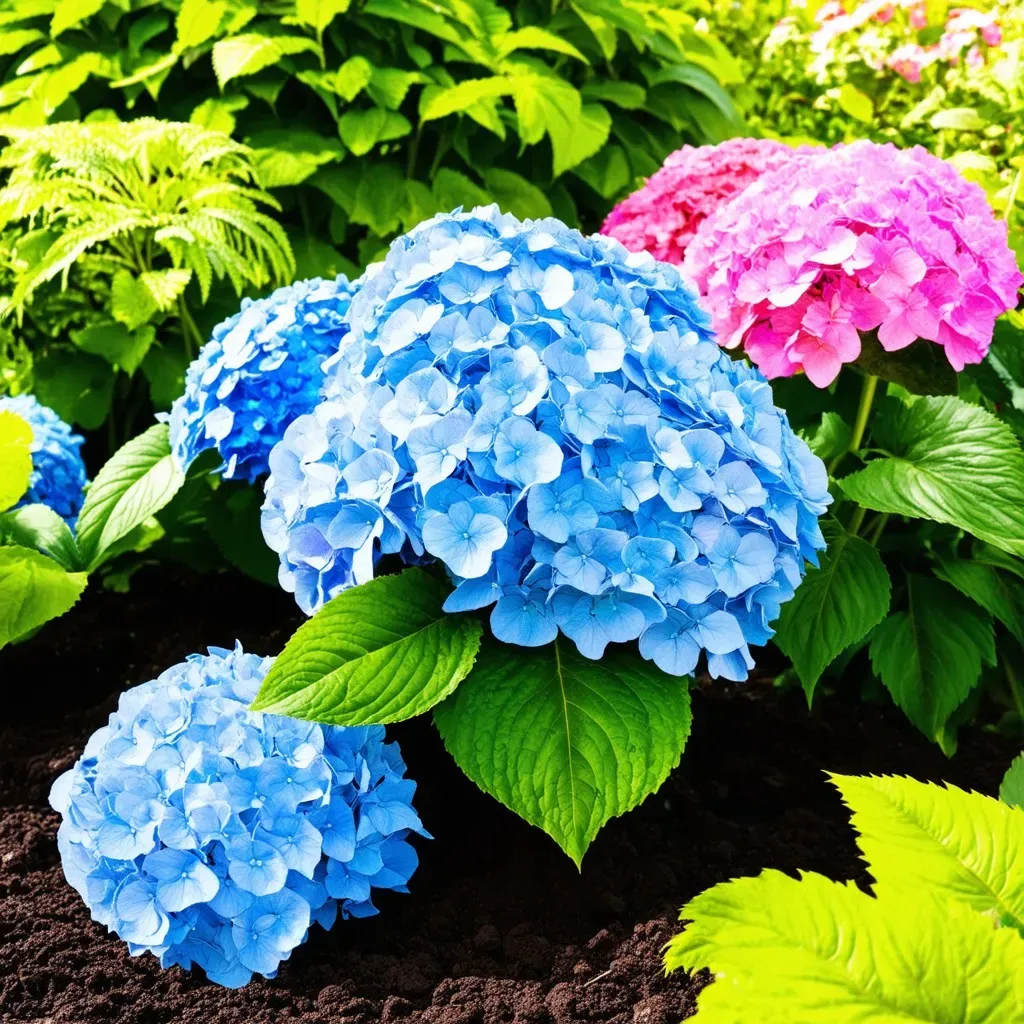
Transplanting hydrangeas can be a daunting task for many gardeners, but with the right knowledge and timing, it can also refresh your garden and promote growth. Whether you’re relocating your hydrangeas to a more suitable spot or simply giving them a new lease on life, understanding when and how to transplant these beautiful shrubs is crucial.
Hydrangeas are known for their stunning flower clusters that can turn heads in any garden setting. However, improper transplanting can lead to stress—or transplant shock—causing poor growth and reduced flowering. In this guide, we’ll cover everything from the best time to transplant to caring for your hydrangeas post-move, ensuring that your gardening experience is as rewarding as possible.
When to Transplant Hydrangeas
The timing of when to transplant hydrangeas plays a pivotal role in their successful relocation. Typically, the best time to transplant hydrangeas is during their dormant phase—either in early spring, just as the new growth begins, or in the fall, after the flowers have faded and the leaves have dropped.
Key Timing Considerations:
- Spring Transplanting: Early spring is ideal for cooler climates as it allows the hydrangea to establish roots before the heat of summer.
- Fall Transplanting: In warmer areas, fall is often preferred, particularly if the ground is still workable but the cold temperatures haven’t set in.
- Avoid Active Growth: Avoid transplanting during summer when the plant is actively growing, as this can lead to transplant shock.
| Season | Best for | Notes |
|---|---|---|
| Early Spring | Cooler climates | Begin transplanting as soon as the danger of frost is over. |
| Late Spring | Not recommended | High risk of transplant shock due to warm temperatures. |
| Fall | Warmer climates | Ideal for transplanting after flowering and before frost hits. |
| Mid-Summer | Not recommended | High risk of shock; best to wait until fall or spring. |
Preparing for the Transplant
When transplanting hydrangeas, preparation is essential to minimize stress on the plant. Here’s how to prepare:
-
Choose the Right Location:
- Select a spot that gets partial to full sun. Some hydrangeas prefer more shade, so consider the specific variety you have.
- Ensure the soil is well-draining to prevent root rot.
-
Soil Preparation:
- Amend the soil with organic matter, such as compost, to enhance drainage and nutrient levels. The soil pH also plays a vital role in the color of your hydrangea flowers.
-
Watering:
- Water the hydrangea thoroughly a day before the transplant. This helps hydrate the root system and makes digging easier.
Reference Video
Steps for Transplanting Hydrangeas
Step 1: Digging Up the Plant
- Begin by using a spade to dig around the base of the hydrangea, keeping a distance of at least 12 inches away from the plant to preserve the root ball.
- Dig deep enough to ensure you have a substantial portion of the root system. A well-established root ball will typically be about 18 inches in diameter.

Step 2: Transferring
- Carefully lift the plant from the ground, minimizing disruption to the root ball.
- Place the hydrangea on a tarp or cloth to move it without damage.
Step 3: Planting in the New Location
- Prepare the new hole at least two times as wide as the root ball and the same depth.
- Position the plant in the center and backfill with soil, ensuring no air pockets remain.
- Water immediately after planting to settle the soil around the roots.

Managing Transplant Shock
Transplant shock is a common occurrence for hydrangeas after moving. Here are ways to mitigate shock:
- Watering: Keep the soil consistently moist but never soggy. Regular watering helps support the hydrangea as it establishes itself in the new location.
- Mulching: Apply a 2-3 inch layer of mulch around the base to retain moisture and regulate soil temperature.
- Pruning: It might be beneficial to trim back some of the foliage before moving. This reduces the plant’s energy needs while it establishes in a new location.
FAQ about Transplanting Hydrangeas
Q1: Can I transplant hydrangeas in April?
A1: April is a suitable time for transplanting hydrangeas in cooler climates, provided the frost risk is over and the plant is just starting to grow.
Q2: How long does it take for hydrangeas to recover from transplant shock?
A2: Recovery time varies, but most hydrangeas can take several weeks to months to fully establish in their new location.
Q3: Can I transplant hydrangeas anytime during the year?
A3: No, it’s best to avoid transplanting during the hottest summer months and instead focus on spring and fall.
Q4: Do hydrangeas need special soil for transplanting?
A4: While they prefer well-draining soil, hydrangeas thrive in slightly acidic to neutral conditions. Adding organic matter can enrich the soil for better growth.
Q5: How do I ensure proper watering after transplanting?
A5: Water thoroughly right after transplanting, and then check the moisture level regularly—aim for consistent moisture without overwatering.
For more in-depth information on transplanting hydrangeas, consider visiting Epic Gardening for additional tips and tricks.
Additional Care After Transplanting
After transplanting, it’s critical to observe how your hydrangeas react to their new location. Monitor their growth throughout the season, and adjust care accordingly. Consistent watering, mulching, and watching for pests are key to ensuring your hydrangeas thrive post-transplant.
Transplanting hydrangeas doesn’t have to be an overwhelming task. With proper timing, preparation, and care, you can enjoy vibrant blooms in your garden for years to come.

By following these guidelines, you’re not just moving a plant; you’re nurturing life and enhancing your garden’s beauty. Happy gardening!


